8/23/16
I have since removed this bracket and gone to the PCI Sparco Seat Bracket for concerns of not passing tech inspection with my bracket. Info for it can be found here.
A couple weekends ago I went to an SCCA winter autocross event. Doing so I found out two things: A) I need some practice, B) My head with a helmet sits above the roll bar, which you know, defeats the purpose of it. So I spent the whole time in a sort of scrunched position as to not break the rules. After this uncomfortable experience I decided the next piece going into my car are a racing seat and a harness.
For whatever reason I have always wanted a car with a racing seat and harness. It just makes me feel cool, even though I am sure it makes me look like a tard. Especially when it takes me a couple of minutes to get the harness on and tightened down. But boy do I feel cool. I put in a Sparco Sprint V seat with a G-Force 6 point harness. The seat fits well inside the car. The shoulder support barely sits against the door when it is closed, and the is mostly because my bracket came out a little skewed.
For those of you taller people out there looking to race a Miata, especially if you put in a hard dog roll bar like mine, you will need a seat change of some sort and you will likely have to ditch the seat rails and go to a fixed mount. I am 6' 0" and as I said, with the OE seat all the way back and reclined, my helmet lies a good bit above the roll bar. A lot of the aftermarket seats come with simple bolt in options that can use the stock rails or supplied rails. The consensus on this seams to be though is it generally raises people up a 0.5". So I was set on getting a seat and making a fixed bracket system for it.
The first part of this was installing the hard dog harness bar. They make a bolt in harness bar for ~$150 for the shoulder straps. When you take the seat belt tower bolts off there are a bunch of spacers on it. The largest space is the same width and the harness bar mount. So remove that spacer then bolt it on. The only problem I have is that it locks up the rotation of the seat belt. This can be fixed by adding some washers to the assembly.


The part I am most proud of for this seat is the bracket system that my dad and I came up with for it. I planned on re-using the factory seat mounts and the issue with that is if you want the seat right on the floor and all the way back you can't get to the rear bolts to tighten the seat down. So we took a piece of 1/4" steel and bent it to match the rear mounts. This then provides an opening underneath it which I intended to make a tab to slide under it to hold the seat in place. PRESTO, you know have a seat the only needs the front two bolts to get it in and out. The rest of the bracket was made out of 3/16" thick by 1.25" wide steel plate. The tab that slides in to lock the rear was just a large piece of angle iron that we had sitting around.

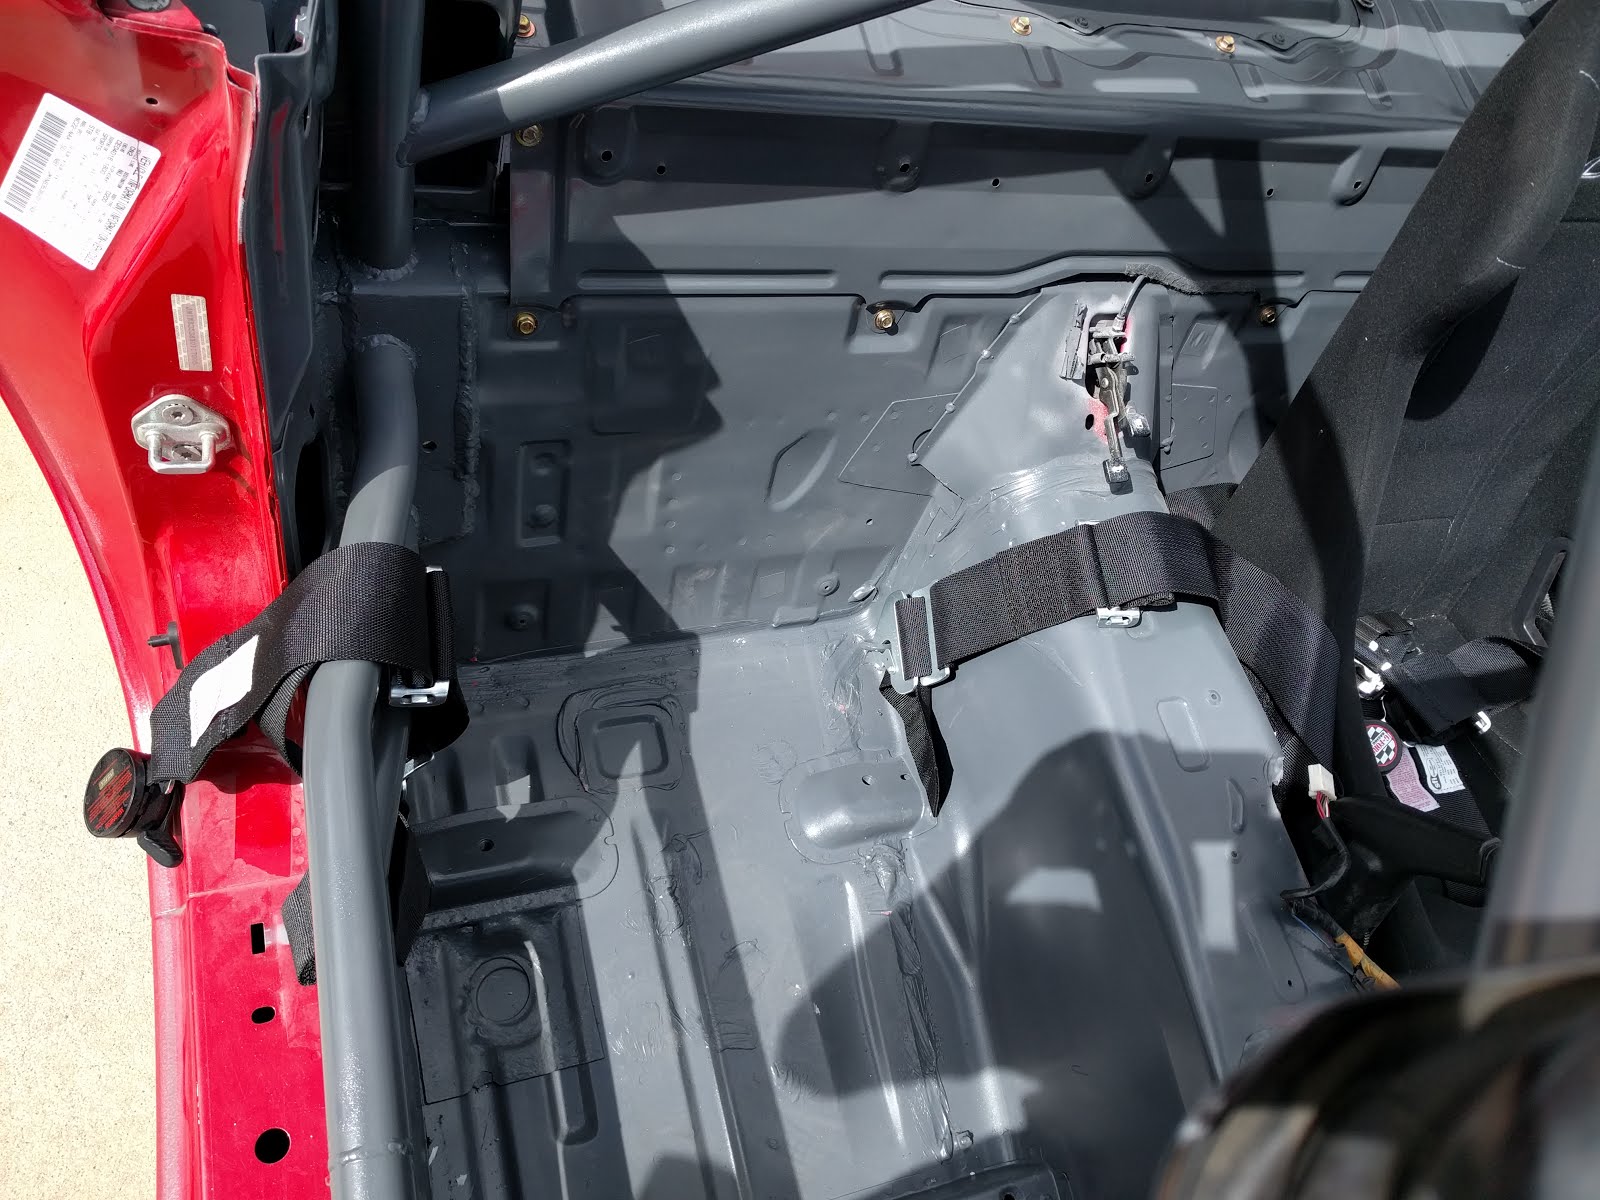
When we were messing with placement of the seat we noticed it was getting caught on some bump that was in the back underneath the carpet. So we pulled up the carpet to find out that it was the plug for the narrow band O2. The seat was snagging on it and would go back or down anymore because of it. So I ended up taking it out of its mounting hole and just taping it to the trans tunnel to get me the extra space I needed. Worked like a charm. Just be careful not to yank the wires if you do this.


Then came the seat bracket. I have a bunch of pictures of it, and next time it is out of the car I am going to take measurements and made a CAD drawing of it for people to use if they want to make something similar.


The seat mount holes are at an angle and there is a hump behind them. We did some forming using a vice and a big ass pipe to get the pice to go over the hump and lay flat. To get the front cross piece angle I tacked it on each side and put it in the car and hammered it down to fit, then finish welded it.


So the bracket sets in the car and you slide it back to get the angle iron beneath the rear piece. The two hunks of round steel on the back were scrap we had and I welded the on the set the rear height of the seat. There is still some slop in the seat, you can rotate it some before the tab and the rear piece hit. To fix this I am going to take a thick piece of rubber and put a taper on it and glue it to the rear piece to make an interference fit so the seat doesn't move at all. If you go with something like mine, make sure to gusset the angle iron so it doesn't just bend and break at the weld.


I painted the bracket red and slapped it in. The seat is sturdy as can be and is really painless to get in and out of the car. I am really happy with how it turned out. Getting in and out of the car is more difficult now though. At some point I will take a picture of the bracket by itself and add it.