Well it has been a while since I have written a post because I haven't been doing much to the car right now. It has mostly been sitting as it is leaking oil from somewhere that I can't find. This is making me mad so I was pouting for a little bit, but I got over it and I am ready to get back to it. The goal for this winter is to fix this problem and do some other projects that I have been neglecting on the car. Overall this is the only problem I have seen from the engine rebuild, so that is good I guess!
But before I fix the engine I had a set of new Hawk HPS ceramic pads and new rotors sitting around that I wanted to put on the car. The front rotors are worn to their minimum limit and the pads that I had on the car were metallic and only really worked when rather hot, so I decided to attempt to find a compromise pad that would work for both autocross and track days. The rotors are from Centric Parts. I don't think it is worth spending the extra money for a slotted rotor so I just went with a stock one for now and Centric Part E-coats their rotor hubs which works as a great rust inhibitor. Zinc flake coating like Geomet still works better than e-coat if you find one with that instead.
If you are looking for how to do the brakes on the front, follow this link to my post about changing front pads and rotors
Replacing Rear Pads Only
If you are just replacing the rear pads then follow these instructions. Doing just pads is a very quick process and can be done in under 5 minutes a wheel, assuming everything comes apart smoothly.
1. Jack up the rear end of the car and support it properly. Then remove the rear wheels.
2. The next step is to take the parking brake cable off of the caliper. This is done similar to the throttle body cable if you have ever done that. There are two jam nuts that pinch the bracket that sticks off the back of the caliper. If you can, try to only loosen the nut on the caliper side as moving the nut towards the front of the car can change how much tension is on the passenger cable vs. the driver side cable. This step can also be skipped, but trust me when I say it is worth the minute it will take for you to take off.
 |
| Parking brake cable attachment to caliper. |
 |
| Once the nut is loose enough, you should be able to slide the cable off of the bracket and then pull the end out of its housing and let it hang free so it is out of the way |
3. Now there is a cap on the back side of the caliper that is a little hard to see that needs to be taken off. This is the same cap that gets taken off when you adjust the e-brake. Once that is off, use a 4mm (or 5/32 usually works for me) allen wrench and stick it in the hole. Rotate the allen the same direction you did to loosen the cap (righty tighty lefty loose as if you were looking at the bolt head). This sucks the piston back into the caliper body, bring it in until it stops. MAKE SURE WHEN YOU TAKE THE ALLEN WRENCH OUT TO PAY ATTENTION AS THE LITTLE ADJUSTER IN THE HOLE LIKES TO POP OUT WITH IT! DON'T LOSE THAT PIECE!
 |
| The caliper piston adjustment hole with the cap removed. Use a 4mm (5/32") allen wrench to adjust the piston in |
4. Now it is time to remove the lower sliding pin which is a bolt. It should have a plastic cap covering it that you will need to remove first. The bolt uses a 10mm socket. Loosen it all the way until you can swing the outer portion of the caliper up and away from the brake pads.
 |
| The lower sliding pin bolt has been removed and the caliper body can now be slid off of the top pin or left on. |
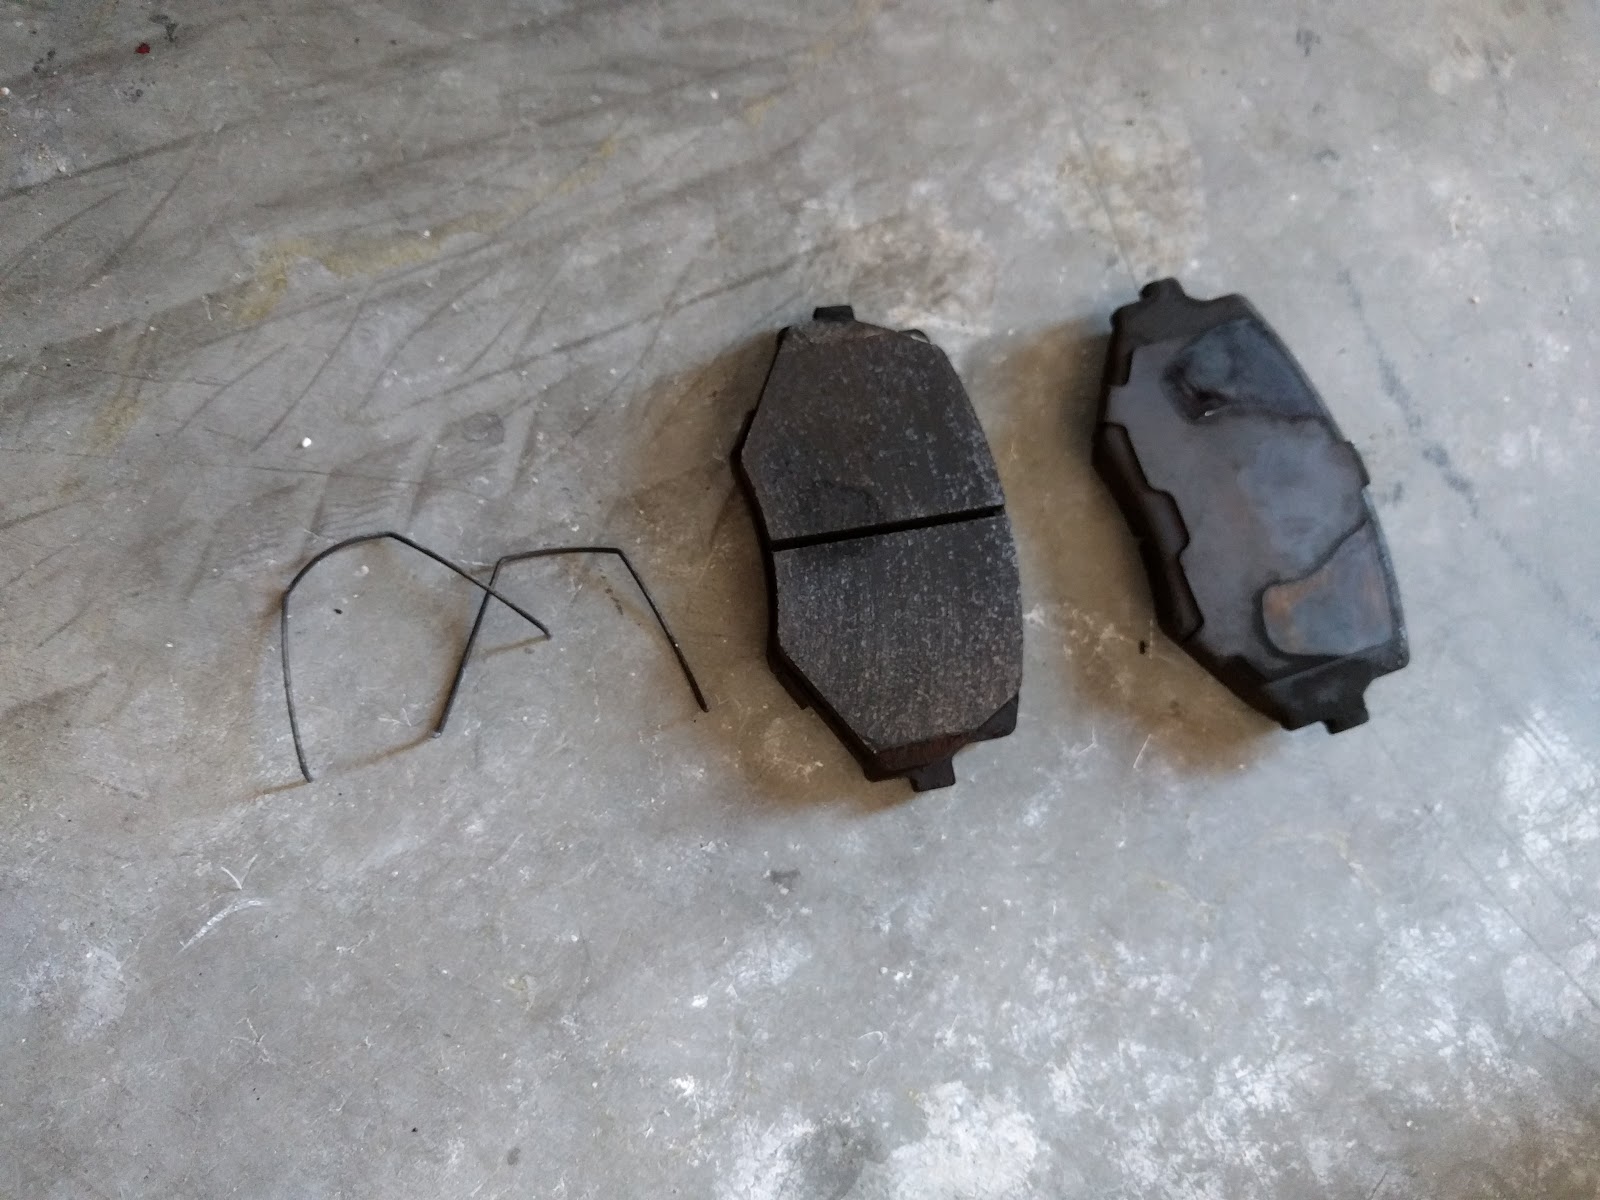
5. Now with the ability to swing (or just take off) the caliper body out of the way, remove the little M shaped springs if you have those. Now you can slide off the old pads and replace them with the new ones. It may not matter, but if your new pads have wear bars on them, make sure the pad with the wear bar is on the inside of the caliper and is on the side towards the ground. If you run it any other directions, I don't know if you will run into fitment problems or not.
NOTE: I highly recommend doing the pads one at a time because if you take both the old pads off before putting in the new ones, you will have to jumble around with holding the little metal retainers if they don't want to stay put while you slide on the new pads.
 |
| Old pads were slid off one at a time and replaced with the new pads. Notice the pad with the wear bar is on the inside of the car and the wear bar is towards the ground. I have no clue about fitment for the wear bar in any other orientation |
6. Now add the brake grease to the outside of the pads (They should have their backing plates on). I also highly recommend cleaning off the old grease on the slider pins and replacing it with new grease to make sure your brakes can freely move on the sliders.
 |
| Grease the backing plates on the new pads, be sure not to get grease on the rotors or inside of pads |
 |
| The inner groove on the pads is what slides over the metal clips. This is also proper orientation for the clip if yours pop off and you aren't sure how they go back on |
7. With everything greased up, slide the caliper body back on the top pin and rotate it down over the brake pads. Make sure everything is going where it needs to and do not force it down. If it won't go, it is likely caught on something.
 |
| Caliper body slid over the new pads |
8. Torque the lower pin bolt to secure the caliper body to the caliper bracket (25-29 lbf-ft). Put the M shaped springs on the new pads. Reference the picture in instruction (4) if you need to see how the M springs go on.
9. Now re-attach the parking brake cable in the reverse way of how you took it off.
10. Lastly, using your allen wrench, adjust the piston outward until the pads clamp the rotor so you can't turn it. From there, back off a 1/4-1/2 turn and make sure rotor can be rotated freely without dragging on the brake pads. Once done, pull on the emergency brake and make sure that it is grabbing good enough that you can't rotate either rotor. If you can rotate one but not the other, you will have to go and adjust the parking brake cable at the caliper where we removed it.
10. Get in the cabin of the car and pump the brake pedal a couple of times to make sure that everything is working and feels like it should.
DON'T HIT THE BRAKE PEDAL IF YOU HAVE ANY CALIPERS NOT FULLY ASSEMBLED. THIS ISN'T THE END OF THE WORLD BUT WILL JUST MAKE YOUR LIFE HARDER BY EXTENDING THE PISTON AND YOU WILL HAVE TO RETRACT IT BACK INTO THE CALIPER BODY
11. With all this done, you can put the piston adjuster cap back on and be on your merry way! Always test the emergency brake and the brakes themselves before heading out. Brake pads also have a recommended bedding procedure by the manufacturer. I highly recommend you do that so you get the most out of your new pads.
Pads and Rotors
If you are also going to replace the rotors then the process is similar to just doing pads but you will have to remove the caliper fully from the knuckle so you can get the rotors swapped. Once you have it down, you can do each wheel in ~15 min. There is going to be some copy paste from the instructions above.
1. Jack up the rear end of the car and support it properly. Then remove the rear wheels.
2. The next step is to take the parking brake cable off of the caliper. This is done similar to the throttle body cable if you have ever done that. There are two jam nuts that pinch the bracket that sticks off the back of the caliper. If you can, try to only loosen the nut on the caliper side as moving the nut towards the front of the car can change how much tension is on the passenger cable vs. the driver side cable. This step can also be skipped, but trust me when I say it is worth the minute it will take for you to take off.
|
| Parking brake cable attachment to caliper. |
|
| Once the nut is loose enough, you should be able to slide the cable off of the bracket and then pull the end out of its housing and let it hang free so it is out of the way |
3. Now there is a cap on the back side of the caliper that is a little hard to see that needs to be taken off. This is the same cap that gets taken off when you move the caliper piston to adjust the e-brake. Once that is off, use a 4mm (or 5/32 usually works for me) allen wrench and stick it in the hole. Rotate the allen the same direction you did to loosen the cap (righty tighty lefty loose as if you were looking at the bolt head). This sucks the piston back into the caliper body, bring it in until it stops. MAKE SURE WHEN YOU TAKE THE ALLEN WRENCH OUT TO PAY ATTENTION AS THE LITTLE ADJUSTER IN THE HOLE LIKES TO POP OUT WITH IT! DON'T LOSE THAT PIECE!
|
The caliper piston adjustment hole with the cap removed. Use a 4mm (5/32") allen wrench to adjust the piston in
|
4. Remove the two 14mm bolts holding the caliper on. Once those are out, pull the caliper and old rotor off. Right now is a great time to get a brush and clean off the face of the hub to remove any rust/deformities as you want this surface to be as flat as possible.
 |
| Once the old rotor is off, clean off the hub face to make sure it is flat. Ignore that I have the caliper bracket still attached in the photo. After doing this a couple of times I found what I think is the most efficient way to change pads/rotors |
5. Take some brakleen (or similar) and clean any oil off of the new rotor. It is important that no oil or grease be on the new rotor or pads. At the very least clean the crap out of the face of the rotor that is going towards the inside of the car as it is really hard to clean once installed if you have the OEM brake shield still on.
 |
| Clean any oil off of your shiny new rotor |
6. Install the new rotor making sure not to touch the braking area with your hands as this can put oil back on the rotor.
7. At this point with the caliper all of the way off it should be pretty easy to remove the old brake pads. Don't forget to remove the M shaped springs if you have those and keep them for the new pads.
8. With the old pads off, bolt the whole caliper back onto the knuckle making sure the rotor is in the groove on the caliper where it needs to be. Torque the two bolts holding the caliper on to
34-49 lbf-ft. It is also recommended that you put some loctite on these bolts.
9. Now it is time to remove the lower sliding pin which is a bolt. It should have a plastic cap covering it that you will need to remove first. The bolt uses a 10mm socket. Loosen it all the way until you can swing the outer portion of the caliper up and away from the caliper bracket.
 |
| Remove the lower sliding pin bolt so that the caliper body can be removed from the caliper bracket |
10. Now remove the caliper body from the caliper bracket. Take this time to clean off both pins and put some new grease on them to keep them from binding.
11. Install the small metal clips that the pads slide on to and slide the new pads on. I find it easiest to do the most inward one first then the outside one. You should have something that looks like the picture below. It may not matter, but if your new pads have wear bars on them, make sure the pad with the wear bar is on the inside of the caliper and is towards the ground. If you run it any other directions, I don't know if you will run into fitment problems or not.
|
| New pads are installed with the caliper body removed. Notice the pad with the wear bar is on the inside of the car and the wear bar is towards the ground. I have no clue about fitment for the wear bar in any other orientation |
12. Now add the brake grease to the outside of the pads (They should have their backing plates on).
|
| Grease the backing plates on the new pads, be sure not to get grease on the rotors or inside of pads |
|
| The inner groove on the pads is what slides over the metal clips. This is also proper orientation for the clip if yours pop off and you aren't sure how they go back on |
13. With everything greased up, slide the caliper body back on the top pin and rotate it down over the brake pads. Make sure everything is going where it needs to and do not force it down. If it won't go, it is likely caught on something.
|
| Caliper body slid over the new pads |
14. Torque the lower pin bolt to secure the caliper body to the mounting bracket (25-29 lbf-ft). Put the M shaped springs on the new pads.
15. Now re-attach the parking brake cable in the reverse way of how you took it off.
16. Lastly, using your allen wrench, adjust the piston inward until the pads clamp the rotor so you can't turn it. From there, back off a 1/4-1/2 turn and make sure rotor can be rotated freely without dragging on the brake pads. Once done, pull on the emergency brake and make sure that it is grabbing good enough that you can't rotate either rotor. If you can rotate one but not the other, you will have to go and adjust the parking brake cable at the caliper where we removed it.
17. Get in the cabin of the car and pump the brake pedal a couple of times to make sure that everything is working and feels like it should.
DON'T HIT THE BRAKE PEDAL IF YOU HAVE ANY CALIPERS NOT FULLY ASSEMBLED. THIS ISN'T THE END OF THE WORLD BUT WILL JUST MAKE YOUR LIFE HARDER BY EXTENDING THE PISTON AND YOU WILL HAVE TO RETRACT IT BACK INTO THE CALIPER BODY
18. With all this done, you can put the piston adjuster cap back on and be on your merry way! Always test the emergency brake and the brakes themselves before heading out. Brake pads also have a recommended bedding procedure by the manufacturer. I highly recommend you do that so you get the most out of your new pads.
 |
| Shiny new brakes! |