I somewhat recently purchased the passenger and driver side
Sparco seat brackets from FRSport for the miata. I never felt like the bracket that I made was good enough to pass a real safety inspection as the seat could rotate just a little before the rear 'latch' hit the cross piece. So rather than design and make a new one, I went the lazy route on this. The PCI brackets looked well made and most importantly looked like it would get my seat low while still using the factory mounting locations. The only thing that you have to do for these brackets is, on the driver side only, hammer the trans tunnel in to make clearance. If you look at my post about the bracket I made, I had to do this also. This bracket requires more 'messaging' of the tunnel than what I originally did. But it was easy and I had no problems with a big hammer and a little patience.
I am happy to report that the bracket does keep me really low. I really don't think I can get my seat any lower without having to cut out the factory mounts and make my own. At which point I would still need space for the submarine belt mounts, so I could maybe get another 0.5". The adjustments on the side are also enough that I can get the bracket to work both for me and the lady friend (well close enough for her, we have to bolster her forward just a little extra so she can push the clutch in all the way). But considering I am 6'0" and she is 5'5" (This is a guess), the bracket offers a lot of adjustment.
I am writing this blog entry to show some tricks I have found on getting the seat in and out of the car. If you are short and have the seat mounted forward on the bracket, then it is very easy to bolt the seat to the bracket. Then put the whole assembly in the car and bolt the bracket to the car. But if you run the seat far enough back, like I do, you run into the problem of getting the rear bolts for the bracket in. Well then you have the option of bolting the bracket to the car then dropping the seat in and putting the side bolts in. This would be fine if there was some GOD DAMN clearance between things! You can make it happen but it is slow and frustrating. So below is what what I have found to work the best for getting the seat in and out. I can take the seat out and have it put back in under 5 minutes this way.
 |
| Step 1: Start with putting the two front side bolts in. Keep them loose enough that you can rotate the seat around them. |
 |
| You need to be able to rotate the seat like this. |
 |
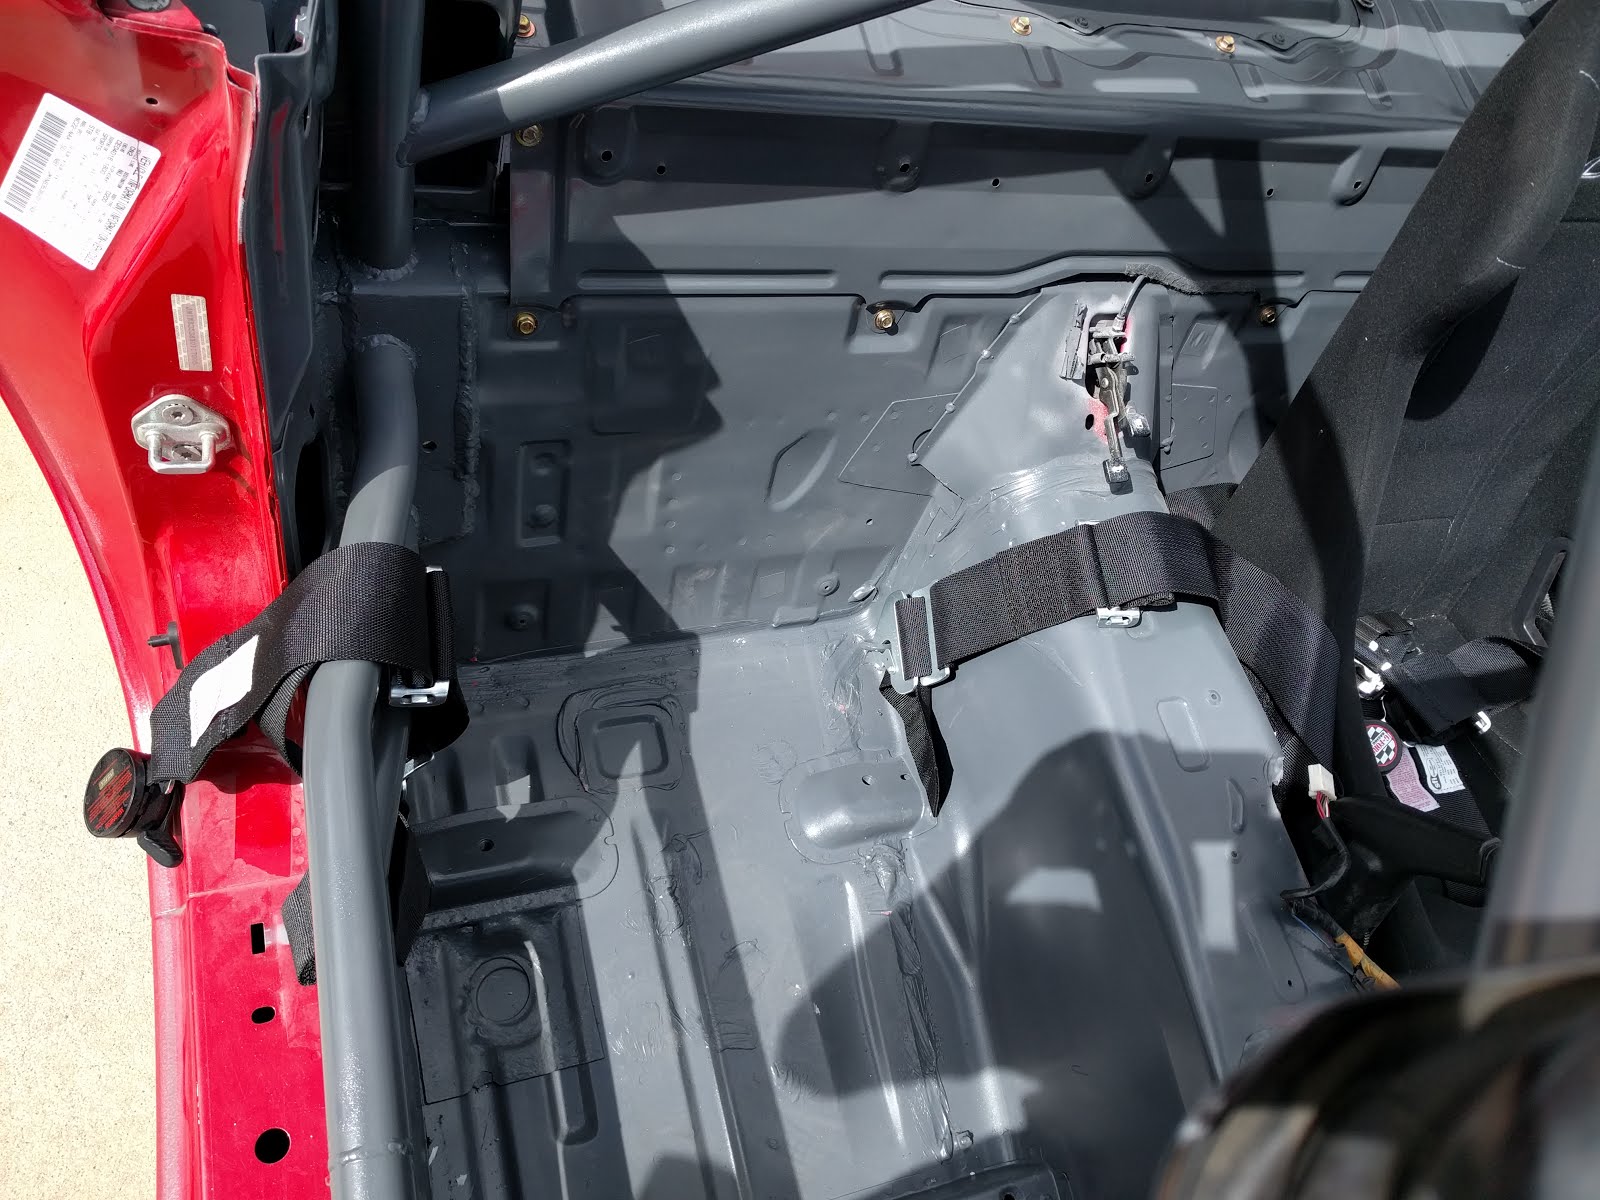
| Step 2: If you have one, get the harness pieces out of the way. |
 |
| Step 3: Bolt down the front of the bracket. You can make these tight. |
 |
| Step 4: Rotate the seat up as far as you can. |
 |
| Step 5: With the seat rotated up, you should be able to reach back in there and get the two rear bolts in and tight. |
 |
| Step 6: It is still a little frustrating, but now put the two rear side bolts in. I find it easiest to use a ratcheting wrench to help make things go quickly. Tighten down all of the side bolts and you are good to go! |
Easy as that everyone. Once you do this a couple of times, you will be able to get the thing in and out if needed in no time at all. Now time for TRACK DAY BRO!
 |
| Nothing like a track day with your bro's, even if your car is the slowest one down the straight |