Clamp Load
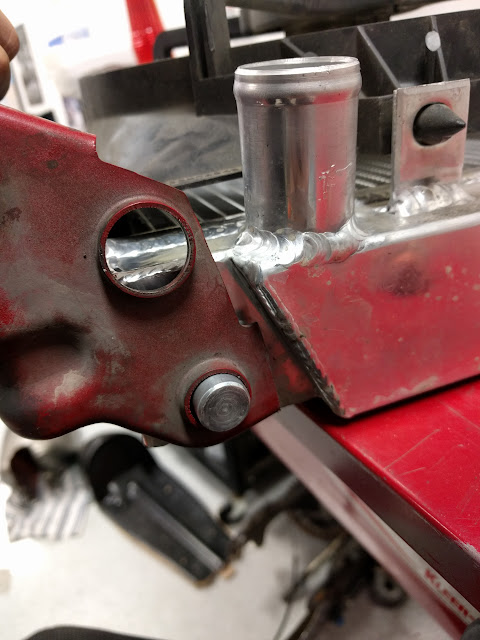
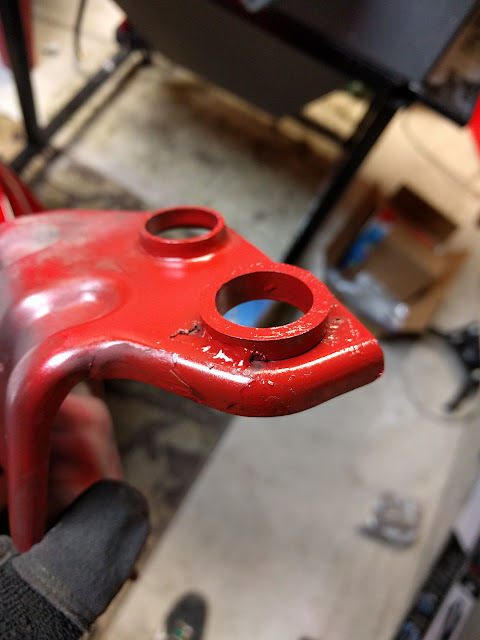
It depends on what style bolted connection you have, but typically clamp load is what is doing the work to keep things in place, not the bolt itself. An example of a connection that uses clamp load is a typical A-Arm style control arm. The arm has a bushing in it, which goes between a clevis and is bolted together with a bolt. Once the bolt is torqued down and everything is properly assembled, the face of the bushing that is interacting with the inside face of the clevis should never slip. If it does it means the suspension was either overloaded or the clamp load wasn't high enough. |
| Front Upper Control Arm on a Silverado 1500. Consists of a control arm with a bushing being pinched between a clevis on the frame. |
 |
| SPC EZ cam Eccentric Bolts (http://www.spcalignment.com/partimages/81270.jpg) |
To the end user, clamp load is the by-product of the given torque value. For a bolt, the higher the torque value the higher the clamp load produced, until the yield point of the bolt is reached. So when manufacturer gives a specific torque spec, they are actually assuming they will get a given clamp load output. This torque to clamp load number is determined through testing the bolt on a load cell with a calibrated torque wrench.
One thing that should be noted is that equivalent bolts will fail at the same total amount of clamp load whether or not they are at the same torque. Lets say there is a bolt that fails at 30,000 lbf of tension. One bolt is coated in a low friction coating and one in a high friction coating. Both bolts are still going to fail when they reach 30,000 lbf of tension, but the low friction coating will reach that amount of clamp at 100 lb-ft while the high friction one will take 200 lb-ft.
What Affects Friction
Anything that can change the friction will affect the amount of clamp load that can be obtained for a given torque. While people often think that it is the friction in the threads that plays the largest role, it is actually the friction between the bearing surface of the nut (or bolt, depending on which you are spinning) and whatever surface it is being clamped against that causes the most drag. Typically a large bolt that needs to reach a high clamp load has certain measures to lower the friction on these surfaces so you can reach the desired clamp load more easily.
Every different coating has a different coefficient of friction which can make reaching your desired clamp easier or harder. The coating can be one of the main contributors to this. You will see that most of the bolts on a modern car use a zinc flake coating, such as Geomet. There are several different variations of this coating even some that have special additives to help make the coating as slick as possible so you can reach really high clamp loads without having to need a torque wrench that goes up to 600 lb-ft (yes I have one this large at work, it is huge).
The other factor that I have seen that plays a large roll is the bolt/nut grade. The higher the grade of bolt, the harder it is. The added hardness helps keep the friction down on the mating surfaces.
Lubricating the threads can also be very effective depending on what you are using for lubrication. ARP bolts come with a pouch of a very specific lubrication that is supposed to be coated over the threads and on the bearing surface of the bolt. They do this to help lower the required torque and to get more consistent clamp loads without necessarily having to go to a torque to yield bolt.
A direct quote from the ARP website -
"We recommend using ARP Ultra-Torque lube to ensure an even, accurate clamp load and to prevent thread galling. This is particularly important for stainless steel fasteners. The lube should be used under the head of the bolt or the bearing surface of the nut and on the threads, unless a thread sealer is used."
Torque to Yield
So we have seen there are a lot of factors that can change what the clamp load is for a given torque on a set of bolts. So what if a precise amount of clamp load is needed, such as on a valve head? If there is a large variation you can warp the head and get bad sealing with the cylinder, thus shortening the engines life. The answer to this question is torque to yield bolts!
From the chart above it can be seen that once the bolt gets into the yield region (past the yield strength point and before ultimate tensile strength) the curve flattens out a lot. By using this relative plateau a bolt can get very consistent clamp loads across bolts. If you were to torque 100 bolts into the yield region and 100 bolts to something below the yield region, your variation on the torque to yield bolts would be dramatically less.
The best way to tell if you are working with a torque to yield bolt is that the torque spec will have a torque value then an additional angle to turn the wrench. Such as, 100 lb-ft + 90°. This is typically a dead giveaway that it is a torque to yield bolt.
 |
| Stress Strain Curve (http://www.metalformingmagazine.com/assets/issue/images/2014/05/Science/Fig1.jpg) |
From the chart above it can be seen that once the bolt gets into the yield region (past the yield strength point and before ultimate tensile strength) the curve flattens out a lot. By using this relative plateau a bolt can get very consistent clamp loads across bolts. If you were to torque 100 bolts into the yield region and 100 bolts to something below the yield region, your variation on the torque to yield bolts would be dramatically less.
The best way to tell if you are working with a torque to yield bolt is that the torque spec will have a torque value then an additional angle to turn the wrench. Such as, 100 lb-ft + 90°. This is typically a dead giveaway that it is a torque to yield bolt.
Wrap-Up
Below is a an example of what testing a series of bolts looks like. All the bolts tested were milled M14x2.0, with clear zinc coating, and grade 10.9. It can be seen they all begin to yield around 24,000 lbf, but they don't all fail at the same torque. This is because of varying amounts of friction from tolerances and other factors. Looking at 150 lb-ft of torque on the chart, the spread from the bolt with the lowest clamp load to the bolt with the highest clamp load is 5000 lbf! This difference is likely more than your car weighs! Think about that for a second next time you decide to torque an important bolt without a torque wrench, because even with a torque wrench you can be getting this kind of spread.
So now you know the basics of how clamp load works. Knowing this information can be a huge help when working on anything. It is very important that you follow specific torque requirements if the manufacturer gives them along with any special instructions such as the ARP bolts where they are supposed to be coated in the ARP lubricant. If instructions like this are ignored or not followed correctly, you risk both over tightening or under tightening depending on what you do to the bolt before installing it. Engineers get paid good money to figure this stuff out, you guys should trust them. Maybe not me, but you should definitely trust other engineers.


